I had been meaning to go back to the Life drawing class at Middlesex university for years, but I kept fiinding excuses to put it off. I loved life-drawing at University. For two years, we had one mandatory life drawing session a week. Our tiutors Aldous Everleigh and Susan Light were very generous with their expertise and gave us incisive and practical advice.I had been meaning to go back to the evening Life drawing class at Middlesex university for years, but I kept fiinding excuses to put it off.
I loved our classes because no matter what stressful project or essay you were working on back upstairs in the illustration studio, life drawing felt like you were stripping back your practice and taking a look at the fundamentals of your art.
Life Drawing teachhes you about perspective, Form, Composition and contrast, among others . It wasn’t always easy, but I found each session to be hugely rewarding and by the end of each one you came away with a handful of finished pieces, whereas in your Illustration classses you could be working on a project that would take you weeks to complete.
It was also hugely rewarding to see your drawings get better over the years, both in and out of the Life-Drawing room. As one of our Tutors told me, one’s skill at drawing doesn’t always improve at the same rate. Instead of the line of improvement climbing up the graph at the forty-five degree angle, he thought that the graph looked more like a set of stairs, with the student jumping up to the next level and then plateauing out for a while. I like this analogy and it was certainly representative of my experience of learning to draw at Art school.

When my friend told me that Aldous’s Life-Drawng classes had moved on-line during the lockdown, I was sceptical. I thought that life-drawing over a web-cam would surely flatten out what you were seeing and make it harder to draw the model. One of the most useful aspects of drawing from a life-model is that you are not looking at a representation of a human body ( a drawing or photograph / video) you are there in the room with the real thing, and you can see for yourself how the anatomy works, without any sort of mediation in between.
My doubts were soon quashed however, five minutes into our first pose. Drawing from a screen isn’t ideal of couse but considering the circumstances, it was amazing how much of the process remained the same. I still got that same feeling of concentration from doing the drawing, and was able to take on board Aldous’s advice that I remembered from my University days and new gems he gave us in-between poses.
I really believe that Life-Drawing is essential to the development of any artist, working in any medium. Here are a list of five important drawing lessons that I’ve put into practice over the years.


1. ) Drawing from life teaches you to see things as they really are, not as the appear to be.
In our day-to-day lives, we make thousands of visual assumptions a second to get from, A to B. So many of these we don’t even have to think about, our subcioncious mind works hard to highlight the most important or significant things in our environment. The process of Life-Drawing is all about breaking down this process. When you look at a model, or a scene for a still life you as the artist have to make these judgements for yourself. You have to determine what the most significant part of the image is, the composition, the contrast, the angles of the forms in question and their relationship to one another. In this way, we are really Seeing the scene instead of glancing or assessing, letting our sub-concious minds do the work of filtering out the less important aspects of the scene. I think this is why, after a life-drawing session I always feel a peculiar sense of mental fatigue, like I’ve just done a tricky crosssword puzzle.
2.) When starting a drawing you should keep things loose.
I always try to not commit too early to a line or a shape when I’m drawing a longer pose. In this circumstance, I am awlays trying to keep things as loose as possible for as long as possible so as I gather new information from the scene, I can alter my image without having to start again. A common mis-conception that I’ve noticed in beginner artists is that every line has to be perfectly formed in your head before you put pen to paper and that a successful drawing is one where you capture the likeness of the scene in a perfect, photographic manner. In my experience, If I have put down a line that i feel no long represents the position of the arm or the crook of the elbow, then I will most likely, redraw it and ignore the original line, or go over it in another medium. Nothing should be static or set in your drawing, everything should be mutable, if needs be.
I think of the preliminary stage of a drawing as taking co-ordinates, the more co-ordinates you have the more successful your finished drawing will be. I will make a small mark on the page, litle more than a dash, a place-holder to describe the position of a foot, elbow, or shoulder to be checked and filled in later. I try to keep my eye moving around the form, not getting too bogged down by any one feature. I think that instead of working on the body in sections, you should be trying to drawing the whole scene all at once.
If I find myself getting side-tracked by the foot before I’ve commited to biggeer decisions, about the angle of the leg for example, I take a measurement with my penicil. I might then measure the angle between the hips and the shoulders say, or follow the that of the bent leg up through the model’s trunk until I get to their shoulder. In this way you are looking for the underlying anatomy of the model and your are baffling the set of assumptions about the human form that your brain tries to automatically impose it.

3.) Quick poses are great
Any life-Drawing tutor worth their salt will start off your session with a series of short poses. These will usually be between thirthy seconds and a minute long and you will do four or five of them in quick succession. This is a really useful exercise as it forces you to focus on the most important aspects of the pose. The idea here is to shake you out of any timidity you might have about making things look ‘right’ or life-like and force you to make quick decisions about the composition, perseptive and contrast featured in the scene. As you can see from some of my own quick -drawings, you don’t always capture the whole figure and sometimes the drawings come out very messsy. But that’s fine, by the end of your quick poses your eyes and your hands are warmed up and you’ve got rid of any preciousness about your work.


4.) Draw the whole scene, not just the figure
In my early life-drawing I would focus solely on the figure, drawing the model in an expanseless white void. When i strated adding elements in from the background, however, I found that it was easier to capture the likeness of the scene. When taking co-ordinates for the drawing, the background elements can give you more information to work with. We are none of us seperate from our envitronment and this is true of a life-drawing model as well. In a recent drawing sessiion, the model was stading infront of a bookshelf. (see above) I found that I could take a measurement that ran acrosss the angle of the bookself and through the back of the head, and another on the shelf below that gave me the relative position of the shoulders and on and on. I think when people see the finished piece, they may think that drawing the background makes the process more difficult, but in fact, it makes it easier. You have all of these objects to measure the figure against, all the angles to compare to the angles of the body. Don’t be afraid of the background, it is your friend!
5. Draw the negative space too


As well as looking through the body. (comparing two non-adjacent angles, like the set of a shoulder and the angle of a hand place on the hips, for instance) it can be useful to look at the negative space formed by the position of the body and draw that instead of the edge of the body, somethings this approach can get accross the form more easily and more legibly than drawing the ‘edge’ of the body. Remember that the only things giving it that edge is the shape of the body and the way that the light falls on it. It’s an illusion that exists only for you, from your perspective at that time.
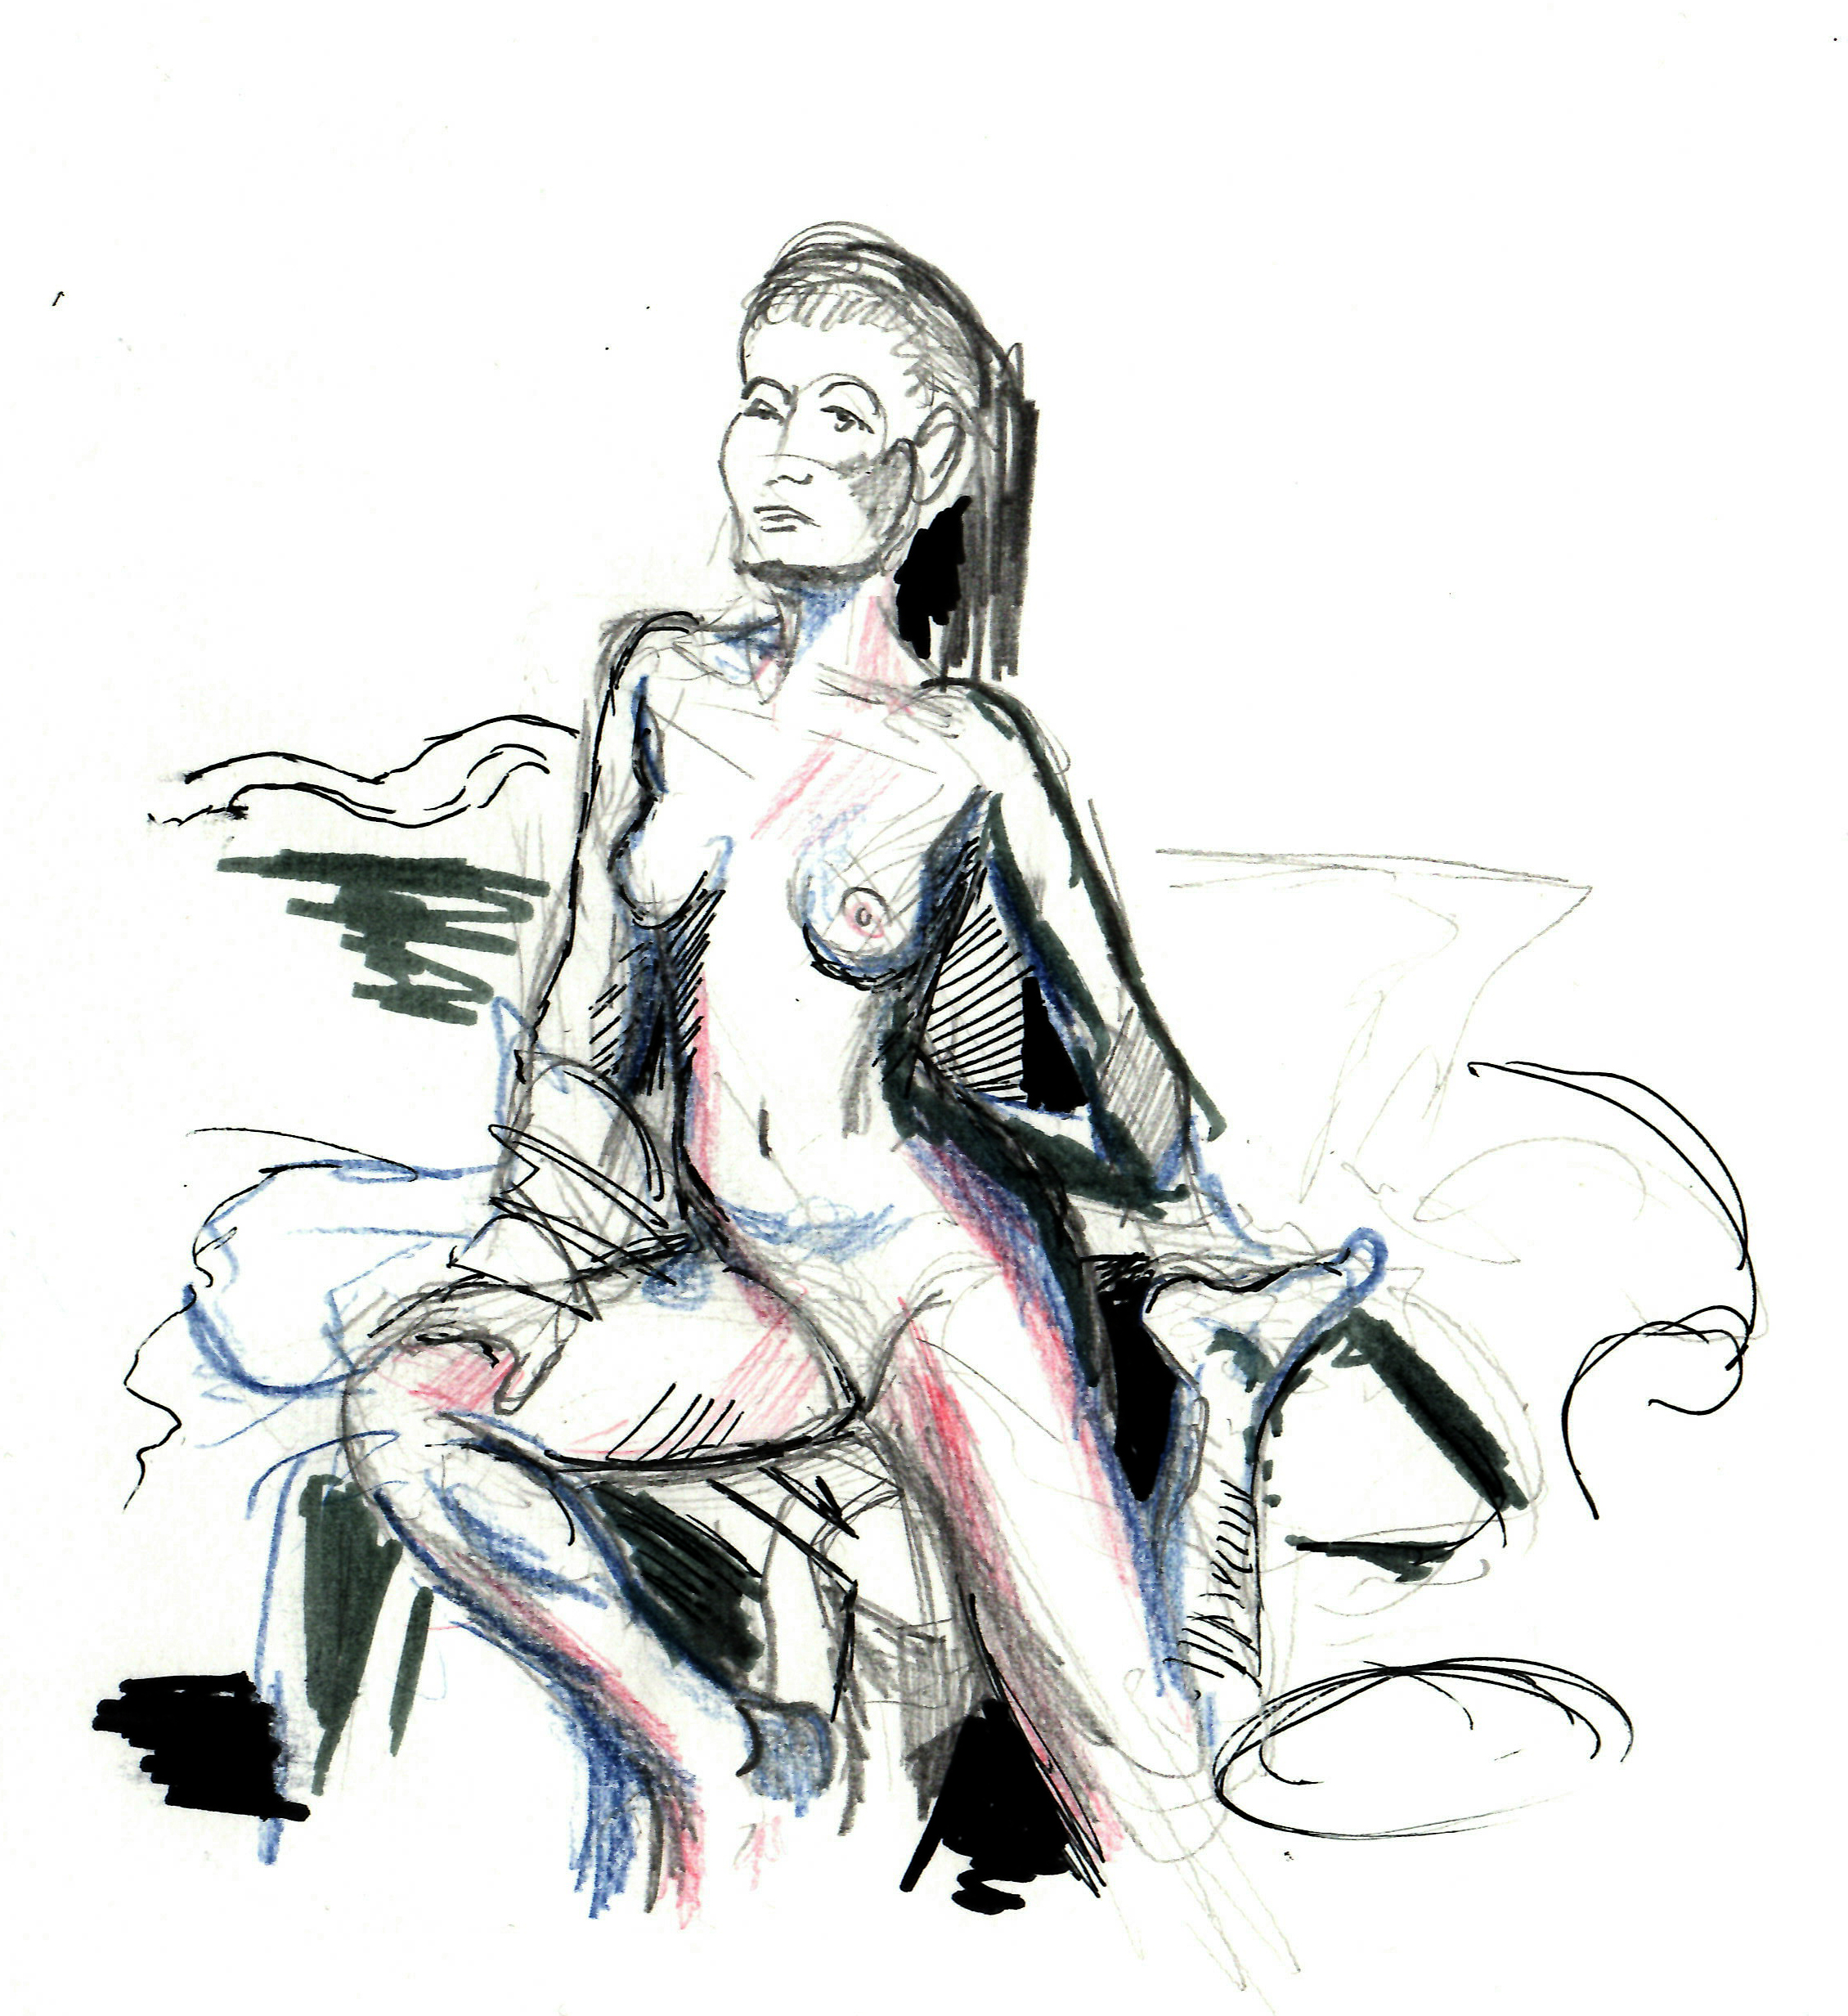
In the two examples above, I have used areas of bold colo
I’ve really been enjoying the life-drawing sessions I’ve been going to over the past few weeks. Whether you’re a lapsed life-drawing artist like myself or a complete beginner, I hope this post has been interesting, and if you’ve never done any life-drawing I would really recommend finding an on-line group and giving it a go from your living room. After the lockdown is over, one of the first things I’m going to do is to attend a life-drawing class in person again.